Baby Tools Shop — E-Commerce Project
This page documents how I configured my very first cloud server instance in the Developer Akademie DevSecOps Course.
TOC
Baby Tools Shop — E-Commerce Project
Table of Contents
Project Overview
This project is a fork of the original Baby Tools Shop repository by Developer Akademie GmbH. It has been cloned and customized for personal development and deployment.
Quickstart
This section provides a brief guide to get the project running quickly.
Prerequisites
- Python 3.9 – Programming language
- venv (Virtual Environment) – Dependency isolation
- Docker – (Added in this fork) for containerized deployment and consistent environments
Quickstart Steps
This section provides a quick guide to run the project using Docker.
Steps
1. Clone the repository from GitHub
git clone https://github.com/Gosia2024/baby-tools-shop.git
2. Navigate into the project directory
cd baby-tools-shop
3. Build the Docker image using the Dockerfile
docker build -t babyshop .
4. Run the container with environment variables and port mapping
docker run --env-file .env -p 8025:8025 --name babyshop babyshop
🌐 Open in your browser:
Application: http://localhost:8025
Admin Panel: http://localhost:8025/admin
Usage
After starting the project via Docker (see Quickstart), you can:
- Access the application at:
http://localhost:8025 - Access the admin panel at:
http://localhost:8025/admin
If you prefer to run the project locally (without Docker), that’s also possible.
🛠️ Please refer to the following sections to configure and run the application manually:
🚀 For containerized or production deployment, see:
2. Creating and Activating a Virtual Environment
- Created a virtual environment:
python -m venv venv
- Activated the environment:
"venv\Scripts\activate"
- Removed original activate script to avoid Python version conflicts.
3. Installing Dependencies
pip freeze > requirements.txt
4. Running the Development Server
python manage.py runserver
- Resolved migration errors by applying migrations.
5. Applying Migrations
python manage.py migrate
6. Creating a Superuser
python manage.py createsuperuser
7. Installing Pillow for Image Support
pip install Pillow
pip freeze > requirements.txt
8. Verifying Local Functionality
- Uploaded images in admin panel.
- Confirmed correct product display and error-free operation locally.
Security & Environment Configuration
- Created
.envfile with:
Then replace the DJANGO_SECRET_KEY with a real secret key.
You can generate one using Python:
from django.core.management.utils import get_random_secret_key
print(get_random_secret_key())

```env

DJANGO_SECRET_KEY=your_real_secret_key
DJANGO_DEBUG=True
DJANGO_ALLOWED_HOSTS=127.0.0.1,localhost
You can copy the example env file and then adjust it:
cp example.env .env


* Added `.env` to `.gitignore`.
* Updated `settings.py` to load from `.env`.

---
Docker Setup
You can view it here. This setup enables containerized development and testing of the Baby Tools Shop app.
### Building and Running

```bash
docker build -t babyshop .
docker run -p 8025:8025 babyshop
- Access at
http://<your_ip>:8025 - Admin at
http://<your_ip>:8025/admin
Deployment on the Server
Steps
- SSH into server, navigate home:
cd ~
- Clone your fork and checkout the feature branch:
git clone -b feature/docker-setup https://github.com/Gosia2024/baby-tools-shop.git
cd baby-tools-shop
- Edited
.env.production:
DJANGO_SECRET_KEY=your_secret_key
DJANGO_DEBUG=True
DJANGO_ALLOWED_HOSTS=127.0.0.1,localhost,your_server_ip
- Build image:
docker build -t babyshop .
- Run container:
docker run --env-file .env.production -p 8025:8025 --name babyshop babyshop
- Create superuser:
docker exec -it babyshop python manage.py createsuperuser
- Access app:
http://<your_server_ip>:8025/
and admin:
http://<your_server_ip>:8025/admin/
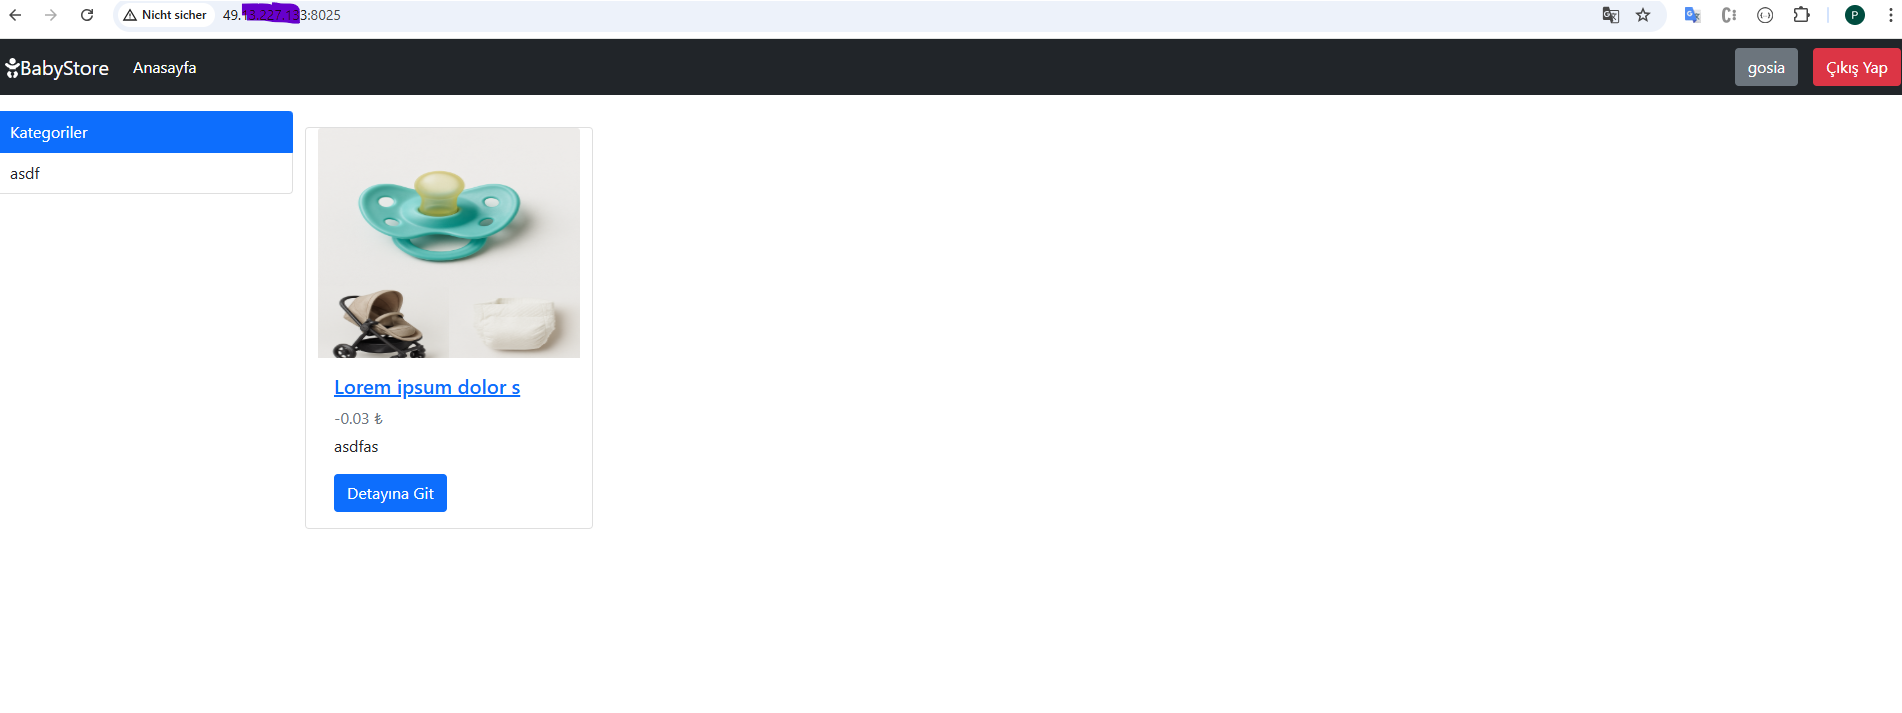
Project Screenshots
Home Page with login
Home Page with filter

Product Detail Page

Home Page with no login

Register Page

Login Page
